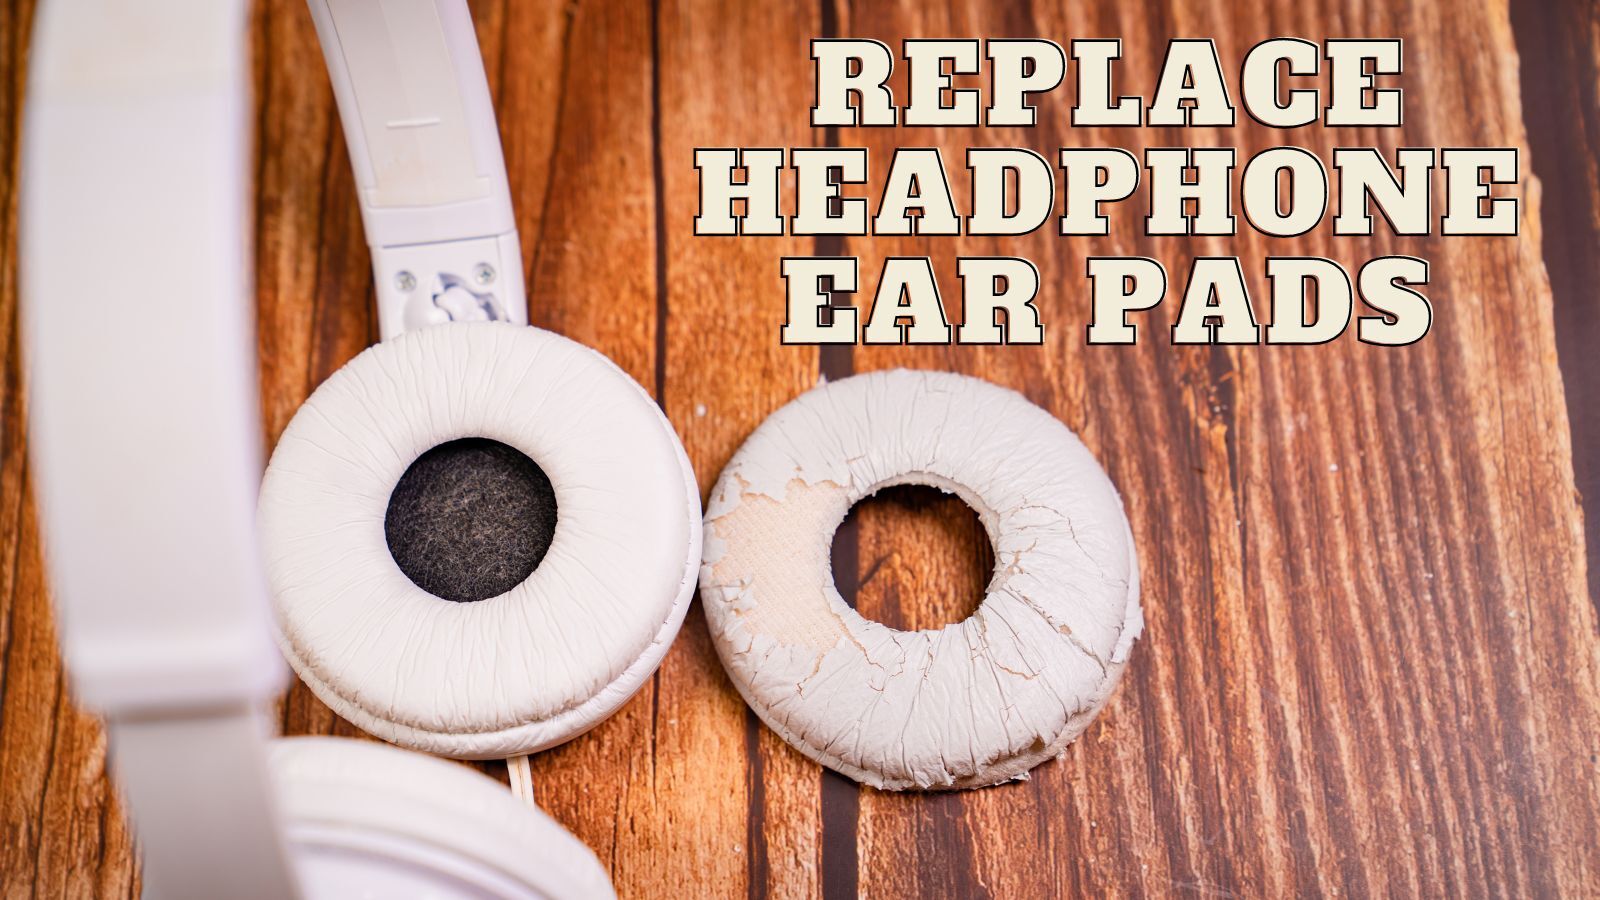
Upgrading your audio experience doesn't always mean buying new headphones. Dive into our step-by-step guide on how to effortlessly replace headphone ear pads and breathe new life into your favourite pair.
Headphones have become an essential part of our daily lives, accompanying us during commutes, workouts, and moments of relaxation. However, with constant use, those comfortable ear pads can deteriorate, compromising the listening experience. Replacing headphone ear pads can breathe new life into your favourite pair, whether it's because of wear and tear, hygiene reasons, or simply wanting a fresh feel. Dive into our detailed 6-step guide to rejuvenate your headphones and ensure continued listening comfort.
Table Of Contents
What Tools Are Needed To Repace Headphone Ear Pads
When it comes to replacing worn-out headphone ear pads, it’s crucial to ensure a hassle-free process by gathering all essential tools before getting started. Here's a brief guide to aid you in the endeavour.
1. Cleaning and Gluing Accessories
Alcohol wipes (Leftovers from smartphone screen protector kits work too!)
Rubbing alcohol (Ensure it’s 70% concentration or higher)
For those replacement pads that need to be glued, you may either receive the necessary adhesive accessories with your purchase or need to procure them separately:
Double-sided tape, preferably pre-shaped for ear pads or a larger sheet if you're okay with cutting the shape out manually. Both variants can easily be found on online marketplaces like Amazon or eBay.
2. Precision Tools
Certain headphones might have ear pads secured with locks or tiny screws. In such cases, a mini screwdriver or a similar tool would be required to release these fasteners.
3. Prying Tools
For headphones with ear pads glued in place, prying tools become indispensable. While you might be tempted to tug them off simply with your hands, you risk damaging your headphones. Instead, consider using:
Pliers
Picks
The handle of a nail clipper
These tools can help in carefully lifting the pad without causing any damage.
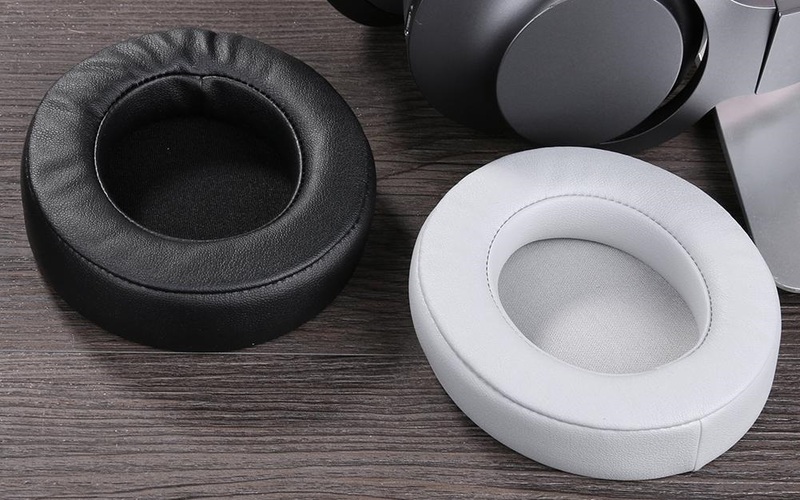
4. Replacement Ear Pads
The first and foremost thing you’ll need is a pair of replacement ear pads. It's imperative to purchase pads that are compatible with your headphone model to guarantee optimal sound quality. We'll dive into how to select the right ear pads later in this article.
5. Hair Dryer
A hairdryer can be your best friend for ear pads that attach using a leather lip. Warming up the leather makes it more pliable and easier to fit onto the headphone's ear cup, ensuring a tighter grip and preventing potential damage.
NOTE: Not all headphones require the full array of tools listed above. Assess your specific model and needs before gathering supplies.
Replacing Attached Headphone Earbuds
Attached or “dressed” headphone ear pads are a popular design; luckily, they're among the simpler types to replace. To replace the ear pads, follow the steps below:
1. Removal of the Old Pad
Gently grab the ear pad on one side.
Carefully pull the tucked leather outwards, detaching the pad from the cup.
2. Checking for the Cutout
Examine the plastic ring on the headphones where the ear pad was previously attached. You're in luck if there's a little cutout or notch. This feature is designed to simplify the replacement process.
3. Attaching the New Pad
Position the new ear pad so that a section of its loose leather aligns with the cutout mentioned above.
Begin tucking that portion of the leather into the cutout.
As you tuck, slowly rotate the ear pad. This motion will guide more of the loose leather edge behind the plastic ring.
Continue this tucking and rotating method until you've gone full circle.
4. Final Adjustments
Once the pad is fully attached, slightly twist the left and right. This ensures that all parts of the leather edge are securely tucked behind the plastic ring.
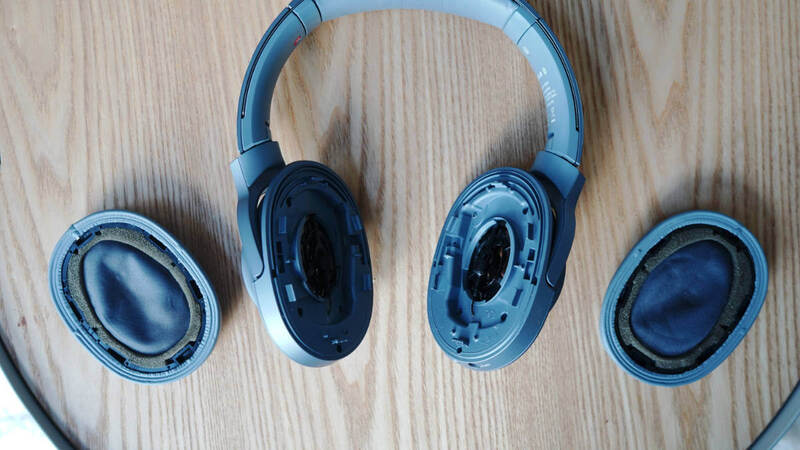
Replacing Locked Headphone Ear Pads
The locked framework typically means your ear pads are held in place with screws or small plastic locks. The following is a simple guide to get you through the process with ease:
Earpad Removal: Carefully lift off the ear pads, exposing the screws or clips beneath. Please handle with care; undue force can damage the ear pads, making them unfit for use.
Unlocking the Frame: For screws, locate the screws and use your screwdriver to unscrew them gently. On the other hand, for plastic pins, position your screwdriver on the plastic pins and gently push to unlock. Always push the tool away from your fingers. Mishaps happen, and this direction ensures your fingers remain out of harm's way.
Lifting the Driver: Carefully lift the driver with the pins or screws unlocked. Now's your chance to remove any remnants of the old ear pads lingering around.
Dressing with New Pads: Slide the new pad onto the driver. This step requires patience and gentle hands. You wouldn't want to harm the driver or ruin your brand-new ear pads.
Reassembly: With the new pads in place, ensure that all driver cables and plastic pins are aligned correctly. Gently press the newly dressed drivers back into their housing.
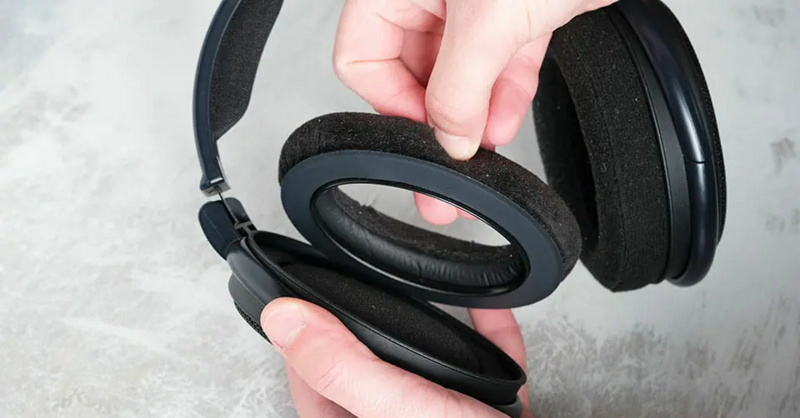
Replacing Ear Pads For Snapped-On Headphones
The process of replacing snap-on ear pads is often straightforward. Brands like Sennheiser, Sony, and Edifier typically favour this easy-to-use design.
Quick Steps for Common Snap-on Ear Pads
Grab & Pull: Take the ear pad between your fingers and gently pull it away from the ear cup. Begin on one side and pull slowly until you notice a click. Continue this process around the entire ear pad.
Position the New Pad: Once you've removed the old pad, align the new one with the headphone frame.
Attach: Gently press the new ear pad down onto the frame, working your way around until it's securely in place. You should feel or hear a subtle click once it's correctly seated.
Note: The Apple AirPods Max simplifies this even further with magnetic attachments for their ear pads.
However, some headphones, such as the Sony WH-1000XM4, require a more delicate touch.
Steps for Sony WH-1000XM Series
You'll need a hard, thin, prying instrument. The handle of a nail clipper works well in this instance.
Carefully insert the tool from the outer edge beneath the ear pad. Gradually lift the ear pad until it clicks. Taking your time here is crucial to prevent damage to the headphone's plastic components.
Repeat the above step, focusing on detaching about half of the securing clips.
Once loosened enough, use your hands to remove the ear pad completely.
Position & Attach New Pad: Align the plastic segments of the new ear pad with the ear cup and gently snap it into place.
This method is consistent for the Sony WH-1000XM3, WH-1000XM4, and the latest WH-1000XM5.
Bottom Line
With a bit of time and the right tools, anyone can extend the life of their headphones by simply replacing worn-out ear pads. Doing so enhances the listening experience and makes economic and environmental sense. It's a testament to the idea that a little refresh is often needed to make old things feel brand new again. So the next time your headphones feel a little less comfortable, remember: you can rejuvenate them and continue enjoying your favourite tunes in utmost comfort.
Learn how wearing headphones can impact your hair and find effective solutions to prevent and remedy headphone hair problems, ensuring your hair stays in top...
Are you addicted to high music volume? Listening to loud audio via headphones for prolonged periods can permanently damage your hearing. However, there are i...
Looking to return headphones at Walmart? Read on to learn all about Walmart's headphone return policy, including important information about the return...
Get to learn about the sizes of headphone jacks, including the commonly used 3.5mm and 6.35mm jacks, as well as the lesser-known 2.5mm and USB-C variants. Le...
Amazon offers a more convenient way of buying electronics, including headphones. In just a few clicks, you can expect your headphones to come in, all without...
Want to keep your headphone battery performing at its best? Find out why your headphone battery keeps running out very fast in this guide. Discover the essen...