Different Speaker Connection Types - Understand Their Features
Looking to connect your speakers seamlessly? Discover the best speaker wire connectors in this guide – from spade connectors to banana plugs. Find ou...
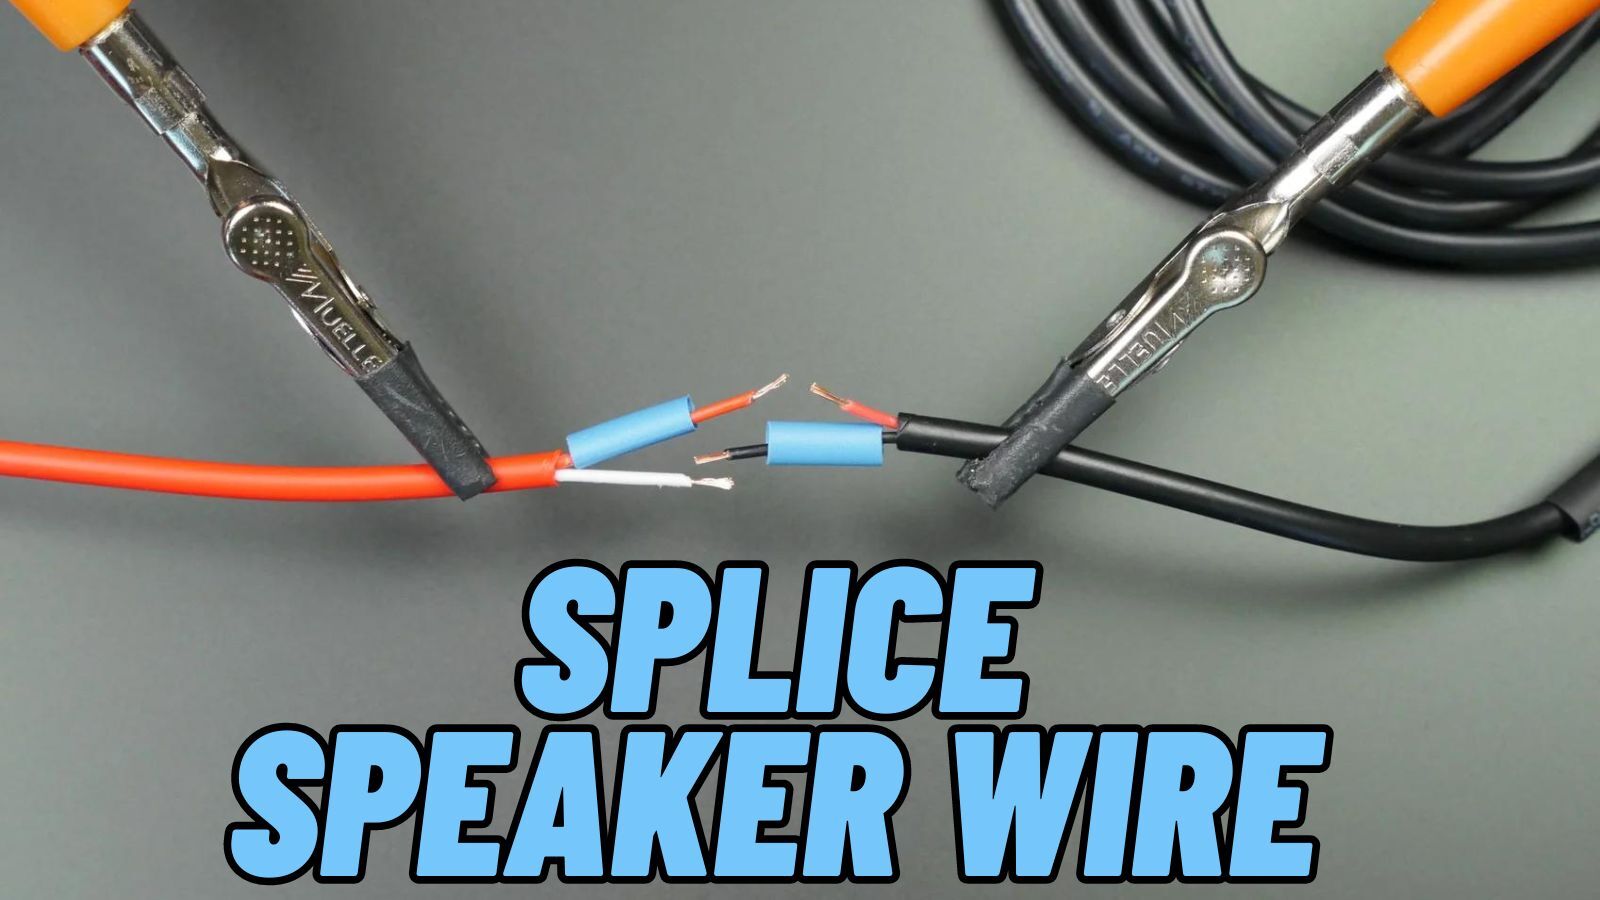
How can I splice speaker wires without interfering with the overall audio quality output? Well, here is what you need to know. We have every reason why you need to splice speaker wire with a detailed step-by-step procedure to guide you.
When you think of splicing a speaker wire, many questions keep running. While many reasons might force you to splice speaker wire, the primary purpose is well known. At some point, you might purchase the home theater system and realize that the speaker wires aren't long enough to reach the system from the targeted location.
The solution is to increase expenditure and purchase new cables to fix the issue. If you do not have the bucks to spend, you will be forced to utilize the old wires available from the surroundings. For such a case, you need to splice the connectors and then join them to make a complete connection.
There are multiple approaches you can rely on to splice the speaker wire. The method you select comes with pros and cons. However, they never interfered with the audio quality besides compromising the wire structures. As long as you read and understand the below techniques to splice speaker wires, you will effectively get your quality output sound. Here are some reasons why splicing speaker wires is essential.
Table Of Contents
From The research, we have seen that there are countable reasons why you will need to splice your speaker wire. One of the primary goals here is to obtain a longer speaker wire that connects the speakers to the system. The location or distance of the speaker and system is the key factor here, and it determines the length of the wire you will need.
When purchasing or splicing a wire, there are a few things you also need to keep in mind. It would help if you accounted for the gauge of the wire as well as the length. This is because the length tends to affect the quality of your sound.
Generally, splicing speaker wires is a straightforward process, and it takes you a few minutes to get it done as long as you have all the tools available. Some of the necessary tools are a heat source, wire strippers, an electrical crimp connector, a spool of speaker wire, and measuring tape.
With all the above accessible, you can now proceed to splice the wires through the below steps:-
Step 1: Start by measuring the length of the wire and cut it. This depends on the distance between the system and the speakers in your room. Use measuring tape to know the length and then cut.
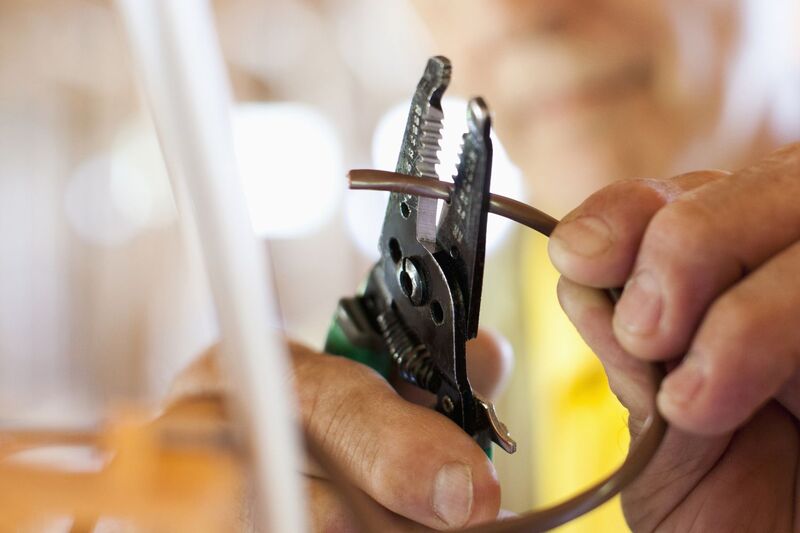
Step 2: Then, with your wire stripper, keenly stripe the wire plastic coating at the ends you want to connect.
Step 3: After that, you will proceed by attaching the crimp connector. Here, you will take the bare wire after stripping, then insert it on the opposite side of your crimp connector. Alternatively, you can also solder the wire to establish a perfect and robust connection. Just ensure that the connection is strong as well as your speaker wires are not touching each other.
Step 4: Then, finalize by applying heat. This helps in shrinking the connectors. Though not a must, it is an ideal move when you want to fully seal the connector and evade water seeping into the connector.
The above are very vital steps, and when you follow them carefully, you are a pro, and connection will never fail you. To this far, or if you are a newbie, what are the speaker wire connectors and their significance. Well, there are different types of speaker wire connectors. Refer to the next section for details.
We have gone through the reliable speaker wire splicing method. It is now the time to explore the type of foot speaker wire connectors available. Most electricians are proud to get jobs connected to splicing speaker wires. From the reviews and praises, we have also compiled a list of the best speaker wire connector types for you.
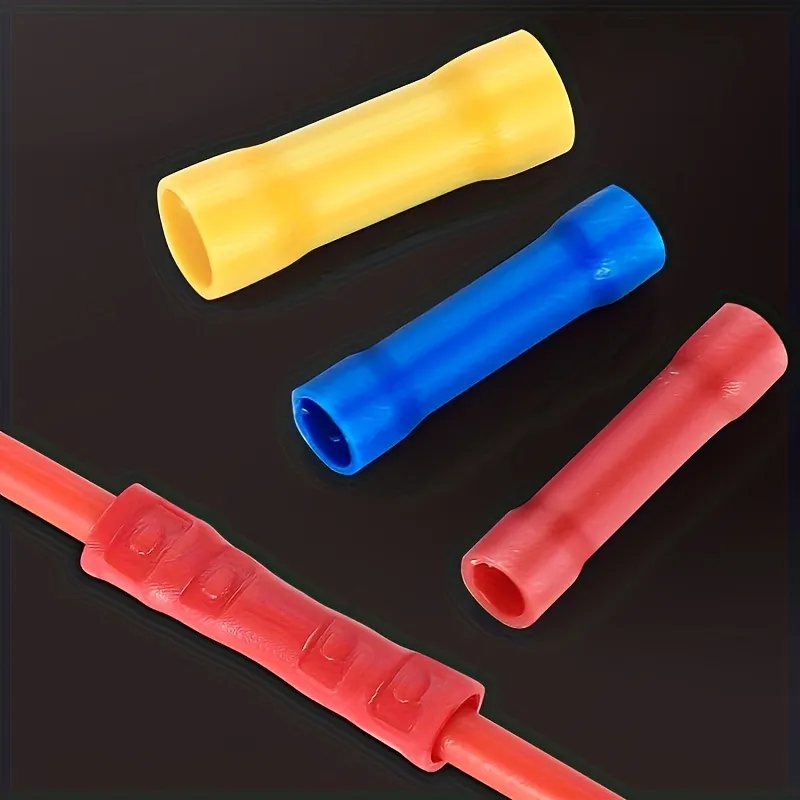
This is a popular type of speaker connector. To some people, it is referred to as the pig-tail sleeves. They Are available in different and unique sizes based on your preferences. The variation comes in terms of the gauge to fit your needs.
With this wire connector, you do not have to strip the wire too far, so this crimped caps connector gets a better chance to cover that stripped area. Unfortunately, it would be best to have the effective and proper crimping tools to utilize the crimped caps.
Also, when you want to hasten the work, you are advised to start by separately splicing, that is, stripping the wire, and after that, slide the stripped wire into this crimped cap and then crimp with your relevant tools. Note that the splicing method is very sturdy when done well by a professional or expert. However, the results look unattractive and so bulky. Hence, we recommend using this splicing method in the out-of-sight scenario.
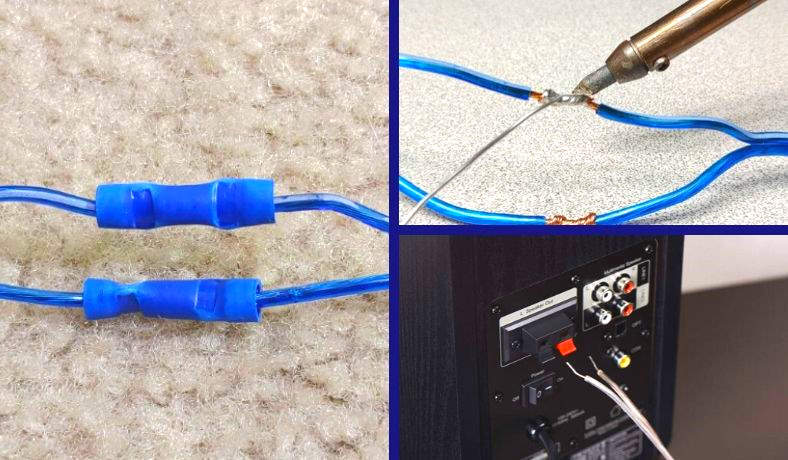
The second well-known type of the wire connector is sometimes called the butt splice. The connectors come with a metal tube infused into the plastic sleeves. One of the advantages customers have reported to enjoy is where the overall results appear. The general connection is more attractive than any splicing technique can quarantine you.
Therefore, for cases when appearance, aesthetics as well and physical space are an issue, this type of wire connector for splicing is the best. A good example is a situation where the method is reliable for connecting the full-range speaker everywhere the target wires are to run through the carrier as well as the ceiling. You will not have an issue here as everything is sorted and safe.
These types of connectors are ideal for the above environment. that is, under your carpet as well as on the ceiling. Therefore, we insist that when ordering, we get sturdy connectors from the market. A good choice is the Sopoby Butt connectors. Unfortunately, some have complained that the but spice cannot establish physical contact between your spliced wires.
The connectors only give you the option to insert stripped wires halfway, and it is the work of the butt splice to maintain the electrical current continuity using the body. Also, keep in mind that these butt connectors are only versatile with the stranded wires; hence not recommended for the solid core type of wires regardless of the scenario.

This is also another uncomplicated method to spice the speaker wires. It is ideal and famous for maintaining the connection while splicing the home audio system. In most access, the method is utilized while fixing the headphone wires through the electrical tape.
Here, a user connects the two target wires by making a twist and then wraps the joint using the electrical tape. The process is simple.
Unfortunately, some people have regarded the method as not being reliable; hence, we do not recommend it when you are splicing electronic devices. This is because, with any tension exerted, these wires easily separate, especially when it is a larger wire. Still, large wires are complicated to make a twist and are prone to separation. For such a case, you can evade these issues by utilizing the reliable wire twist pliers set.
Additionally, those electrical tapes often loosen as time goes on because the adhesive force tends to break. This is a common outcome for people located in cold, dusty, and hot places. But if you must, then utilize the 3M electrical seal tape so that you can comfortably twist and then tape the spliced and striped regions.
From the above method, it is clear that the Crimp connector gives you a reliable solution that is versatile in most circumstances. Many people have rated it as the best approach to this issue. This is because, as long as you follow the process correctly, the outcome is reliable and will never loosen. It is simple and fast enough, so it saves you time. Still, temperature does not affect it, nor does it change with time. Moreover, these connectors and related tools are easily accessible from any location, and last, the customer only undergoes simple steps to get the work done.
So far, we have covered why you need to spice your speaker wire, explored multiple methods of splicing speaker wires, and outlined the most popular, reliable, and often-used technique. With different types of wire connectors available, it is now your choice to select your preferred method to start hooking up your home audio system. The techniques are vital with relevant splicing tools. Read the above and get general knowledge with pro tips to accomplishing splicing speaker wire currently.