How to Check Power Supply Wattage on a PC
When you are trying to upgrade your PC, understanding the power supply unit (PSU) and its wattage is important. It determines how much power the PSU can de...
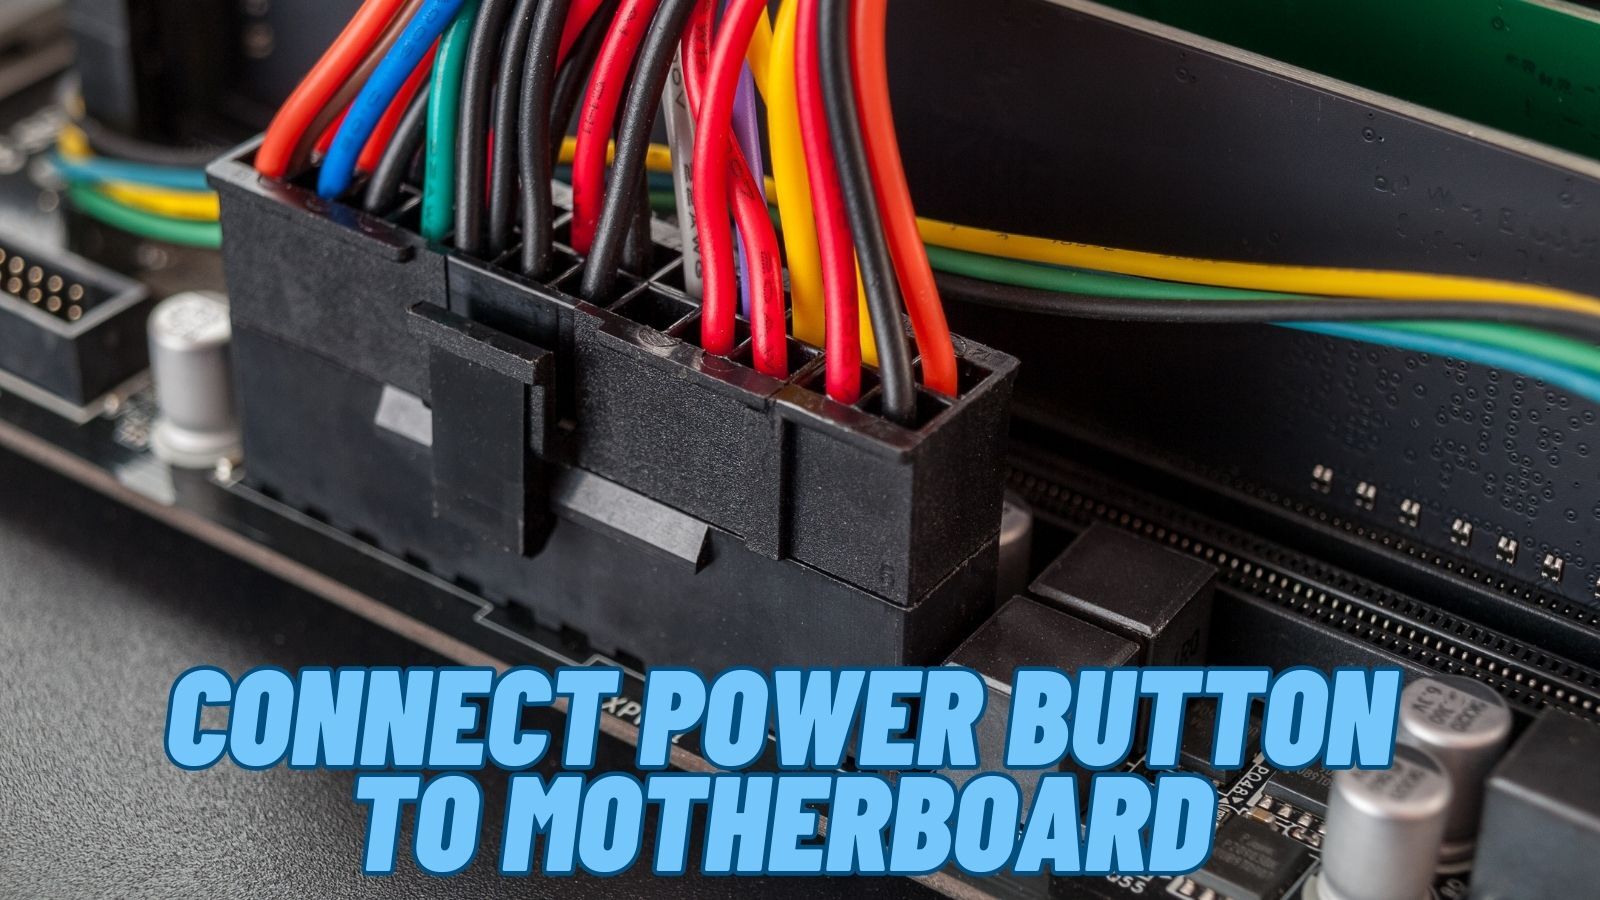
Connecting the power button on the case to the motherboard is relatively straightforward. The manual that came with your motherboard is necessary for this. To establish a connection between the power button and the motherboard, it is necessary to identify the specific pair of pins (also known as terminals) on the motherboard that is designed to accommodate the power button.
The "Front Panel Header" block is frequently where one might find these pins. The pins for the Power Switch and Reset, Power LED, Motherboard Speaker, and other components are located on the front panel header.
Stay calm if this seems too difficult; we will go through how to connect the power button to the motherboard in the following section.
Table Of Contents
It is highly recommended that you keep the following two terms and their definitions in mind while reading this text.
A normal motherboard will have multiple pins that each serve a specific function. Plugs for things like USB ports, motherboard fans, and other components can be among the things you locate. The SW_PW or Power Switch pins, located on the power button, are relevant to us.
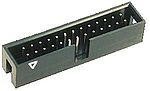
(Pin header)
Connectors for motherboards with several male pins are also referred to as the header under another name. It's not uncommon for individual pins on a header to fulfill a distinct function.
The Front Panel Header is where you will find the pins for the Power Switch.
You will require the following components to connect a power button to a motherboard successfully:
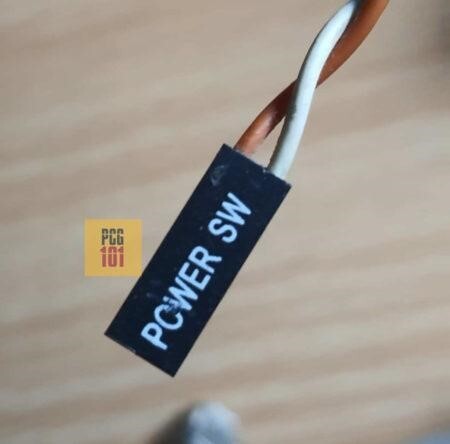
You will need to obtain a power button cable to connect a power button to a motherboard. A tiny wire cable links the power button to the motherboard in most modern computers. The power switch on the motherboard will typically be denoted as "PWR" or "PWR SW" and will have two or three wires attached.
Motherboard
You will need access to
to identify the power switch pins and make the connection. First, ensure that the motherboard is correctly installed in the casing, then power off the computer and unplug it before trying to make any connections.
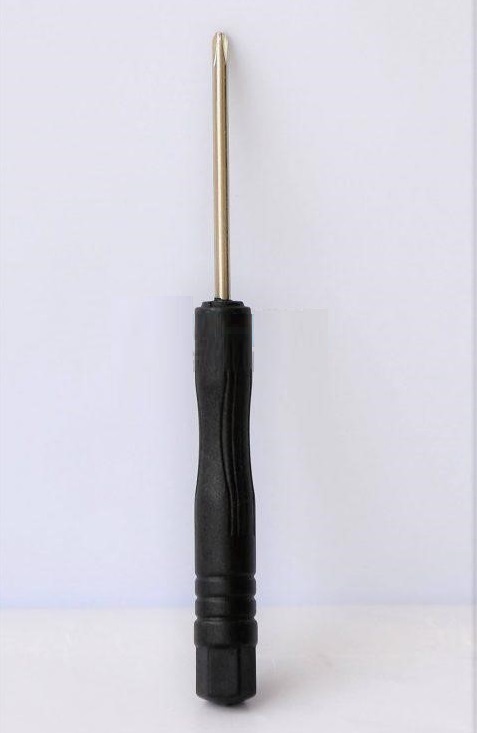
To remove the panel that covers the motherboard, you may require a screwdriver, depending on your case type.
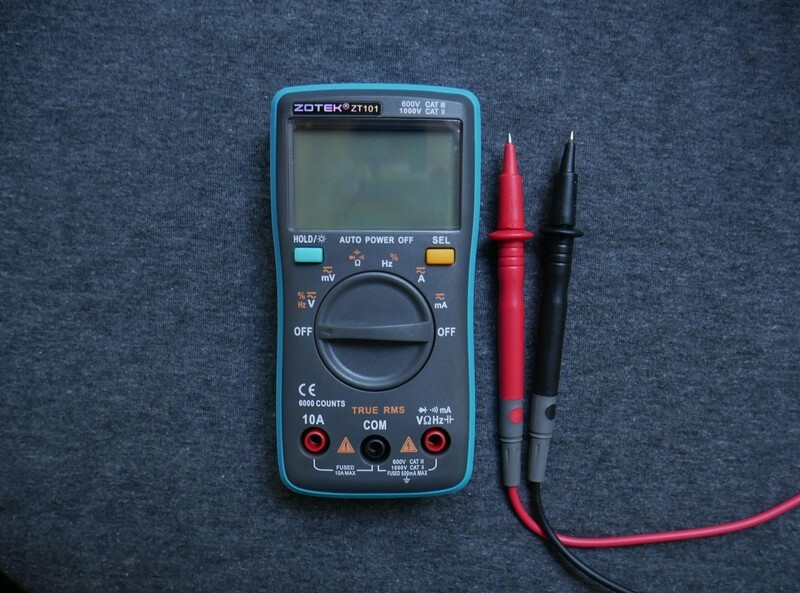
A multimeter is used to check the integrity of the connection as well as the operation of the power button. It is not required, but having it on hand in case of any problems can greatly assist.
The following are the straightforward steps involved in connecting the power button:
As was discussed earlier, the Front Panel Header on the motherboard is where one may locate the pins for the power switch.
You may find the Front Panel Header by:
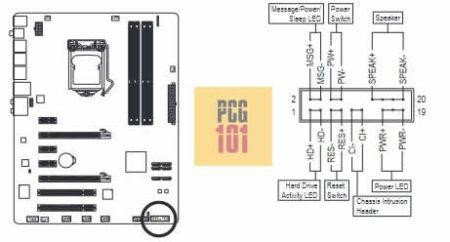
According to the instructions that came with my motherboard, the location of the Front Panel Header can be seen in the accompanying image.
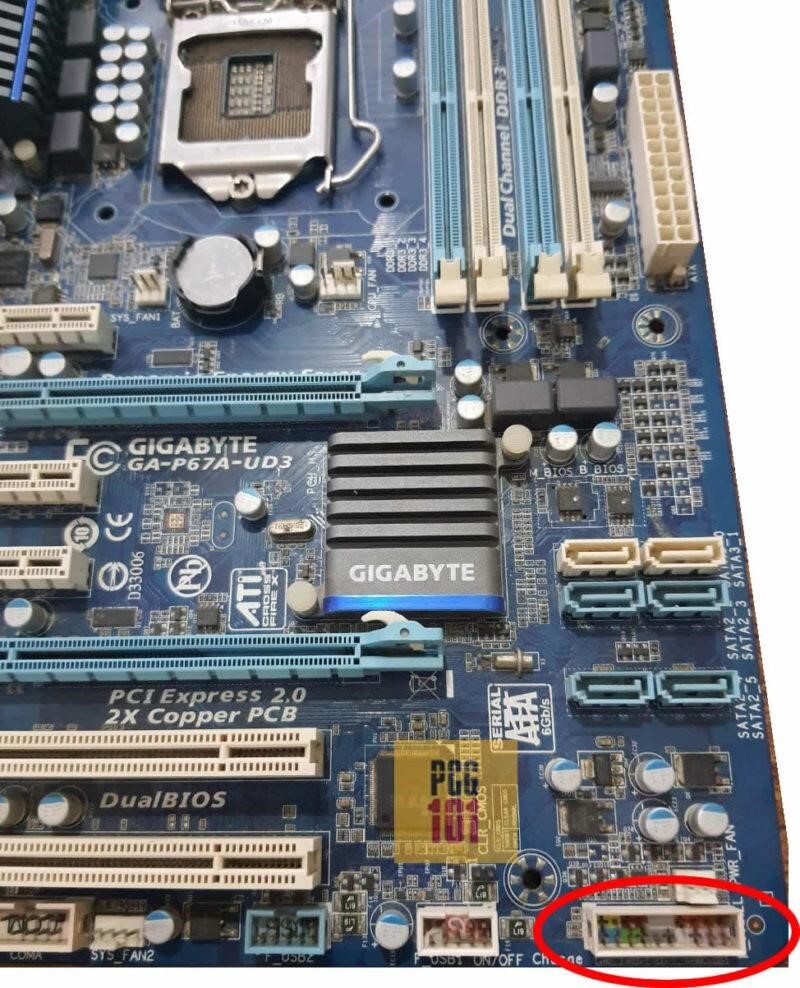
The Front Panel Header, as indicated by this, can be found on the bottom right side of the motherboard.
Physical inspection is another method that can be used to pinpoint the location of the header on the front panel. The majority of the headers have labels that explain what their purpose is.
On a motherboard, the label for the Front Panel Header is typically referred to as F_Panel.
There are various pins on a Front Panel Header, each of which can be used for a specific function. Some examples of these functions include the Power-on Switch and the Reset Switch.
As a result, once you have found the Front Panel Header, the next step is identifying the pins related to the Power On switch.
The pins for the Power Switch are consistently organized in pairs or as a total of two pins.
The labels adjacent to the Front Panel Header on the motherboard provide the clearest and most straightforward indication of which pins should be used.
In the following image, the label corresponding to the Power On pins has been highlighted for you.
The power switch is located between the third and fourth pins in the first row, counting from the left.
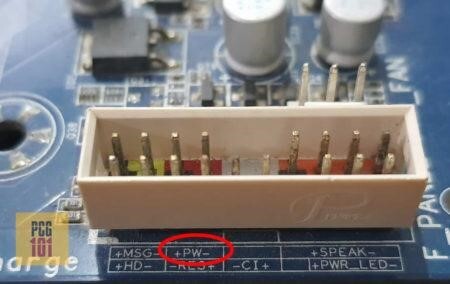
The Power Switch pin's placement on my motherboard is depicted in the graphic that can be found below.
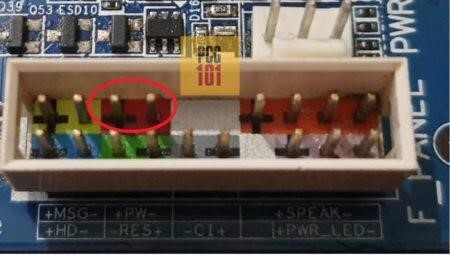
Connecting the Power Switch jumper to the corresponding pins on the Front Panel Header would be best.
The jumper cable for the Power Switch is included with the personal computer case, and its origin is the case's front panel, just like the multitude of other jumpers that serve various functions.
Even though the labels on the motherboard read as +PW-, suggesting that the third pin in the first row is positive and the fourth pin is negative, the polarity does not matter here because the component in question is a switch.
You can connect the jumper in either direction on any terminal as long as the circuit is completed.
The polarity is important when it comes to LED lights for the hard disk and the power supply. Because of this, you need to ensure that the positive jumper is connected to the positive pin and the negative jumper is connected to the negative pin.
There are a few additional ways to activate your motherboard to start working. The power button on your computer casing or the jumper cable may be broken, in which case one of the following solutions may be helpful:
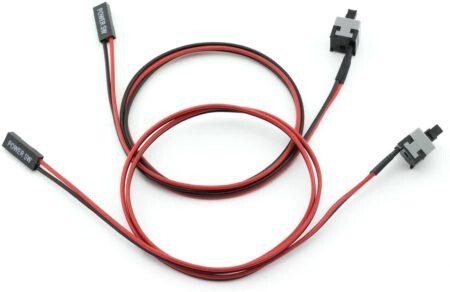
The use of these is rather simple.
As is customary, one end of the jumpers is connected to the Front Header Panel's Power Switch pins. On the opposite end, a push button functions similarly to the PC case's button.
This is especially helpful if you're bench testing or evaluating your motherboard that is outside the case.
Imagine there is no Power On switch at all. Your motherboard can be restarted with a straightforward precision screwdriver.
You use the screwdriver to contact the front panel header's two power switch pins.
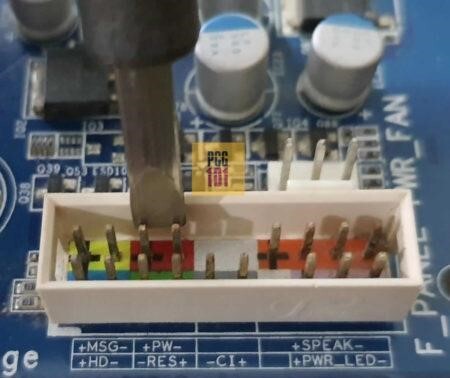
Make sure the screwdriver doesn't make contact with any other pins. Therefore, using a small, flat screwdriver or a precision tool is best.
A fine-tipped screwdriver can be used to jumpstart your motherboard. Using the screwdriver, complete the circuit on the two power pins in the Front Header Panel to turn on your motherboard.
No, the majority of motherboards lack a power button. They instead include Power Switch pins. It is important to note that certain high-end motherboards have a dedicated push button for turning on the computer.
Suppose your PC won't switch on even after you have connected the jumper cables to the right pins, you must do as follows:
You might wish to refer to the literature or user manual that came with your motherboard or computer if you need help finding or identifying the proper pins or connectors on your motherboard for connecting the power button.
You might also try looking for tutorials or guides online tailored to your motherboard or computer model.
Some motherboards may also contain labels or markings next to the connectors that describe the connectors' function or use.
If you are unable to connect the power button to the motherboard on your own, you might want to think about calling a reputable computer repair agency or specialist.
They can aid in locating suitable connectors or pins and guarantee a secure and reliable connection.
Alternatively, you might be able to locate a replacement power button or cable compatible with your motherboard, although doing so might necessitate further investigation and troubleshooting.
As a result, attaching a power button to a motherboard is a straightforward procedure that only needs a few supplies and tools. You can quickly connect a power button to a motherboard and make sure it's working properly by following the instructions in this article. The critical steps are finding the power switch pins on the motherboard, getting the power button wire ready, and securely connecting to the power switch pins.
Testing the power button after connecting everything is crucial to ensure it functions properly. With the right equipment and information, you can quickly attach a power button to a motherboard and start your computer.