How to Position Left and Right Speakers Facing You?
No matter what audio equipment you have, properly placing your left and right speakers can significantly improve your listening experience. They handle muc...
Do you want to uncover the secrets behind the immense sound in your house from the subwoofer speaker? Learn how to connect the ceiling speakers' amplifiers and create a seamless sound setup system. Transform your space with the comprehensive guidelines below to elevate the sound experience.
In the music industry, getting ideal audio output is the ultimate goal of every audiophile. Therefore, besides the audio bliss, you must also learn more hacks to enhance your cinematic experience. Learn how to connect the high-quality ceiling speakers to the amplifier and quickly transform your room into a sonic haven.
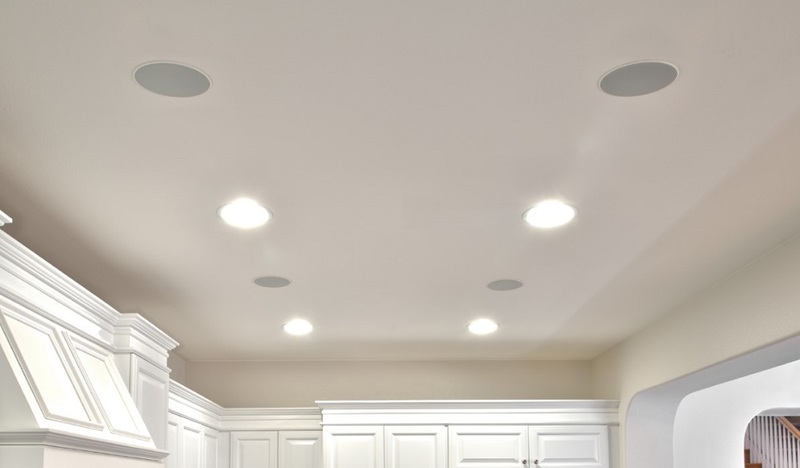
Ceiling speakers give you well-distributed audio in your space with surround music for a thrilling and extra boost. In this article, we will delve into the details and step-by-step guidelines on connecting the ceiling speakers to amplifiers and enhancing the ambient audio alongside the amp and ceiling speaker by bringing the synergy to a unique height. Keep reading to learn more.
Table Of Contents
Ceiling speakers are specifically to work alongside the amp, but these connections are only compatible with the right or left channel. This gives you the option to purchase ceiling speakers rather than hook them with your ideal home stereo, but wiring them sometimes is ineffective, especially when you have a small room, for many reasons. We prefer that you only install a single speaker for such a case.
You need two cables to establish a perfect connection for a single speaker. One of the good moves in achieving your mission is to select the suitable cable for your ceiling speaker-to-amp connection. As a reminder, different wires have different impedance levels and operate differently. As an industry standard, the 16 gauge 2-core speakers are usually preferred for ceiling speaker installation.
Ceiling speakers are passive; hence, they need amplifiers. However, there are also active ceiling speakers with an inbuilt amp on the market. So, when you presume the multi-channel surround sound and want to connect the passive ceiling speakers to your amp, there are a few factors that you should consider. Here are the three key aspects to keep in mind:-
Consider the speaker ratings, power rating, and impedance level. Speaker impedance is vital when matching the speakers with your amplifier.
It is simpler when you want to wire your ceiling speakers in the living room than in your bedroom. Still, it would help if you determined the distance from the amp to the ceiling speaker. This gives you the exact length of the cables you need and other relevant things.
In most cases, the ceiling speakers are made to work alongside the stereo receiver. But when working on a limited space, you realize you can no longer wire the speakers; you must opt for the mono amplifier.
The procedure to connect the ceiling speaker to your amplifier is very simple. You are good to go as long as you remain within the guidelines. So read along to the end.
You must start by identifying your needs and ensuring the tools are accessible. This is a seamless and easy process. Some of the must-have tools in the process are a flat bit, gloves, level, amplifier, fish tape or coat hunger, wire strippers, Phillips screwdriver, and the last one is a keyhole or rather drywall works well too.
Remember that if you do not have the needed skills, hire a professional to help install ceiling wires to your amplifier. But DIY procedures also give you a reliable connection. The option depends on your preferences and knowledge. But when doing it with DIY, make sure you keep in mind the preventive measures. You must turn off the main power and have the protective gears in place from the hands to the legs.
This is another vital step that ensures your ceiling speakers and amplifiers are well-placed, secure, and sturdy. The amp's location needs to be strategic so that you can have seamless control. Still, if you are using the modern amp with the remote control, your proximity for use of these resources like remote and wifi is vital.
This will give you an easy time to determine the distance between the amp and your ceiling speakers to grasp the length of the cables you will have to purchase. Always remember that speaker wires need two runs of stereo installation cables.
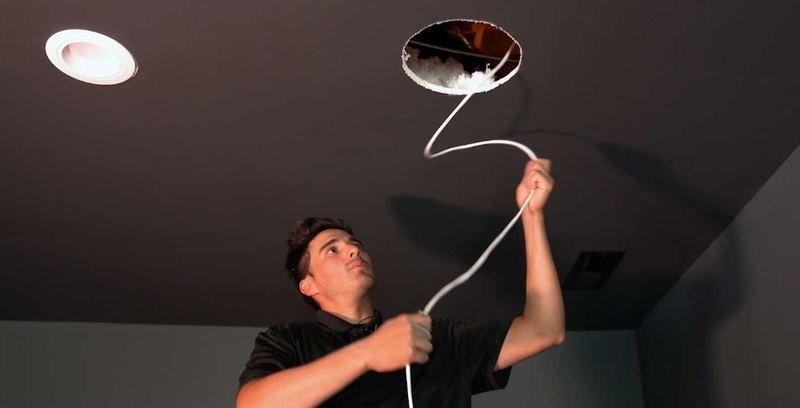
Immediately after determining the distance and having a relevant length of your speaker wire, you can start running those UL2 wires headed to the ceiling speakers from the amplifier. This approach to running the wires from the amp to the ceiling is simple for any new room construction.
But for the old building, you must drill holes to get enough beam support to pass these wires from the amp to the needed ceiling speaker location. Always remember to leave behind an extra coil when you are done connecting, especially when you need to connect the speakers.
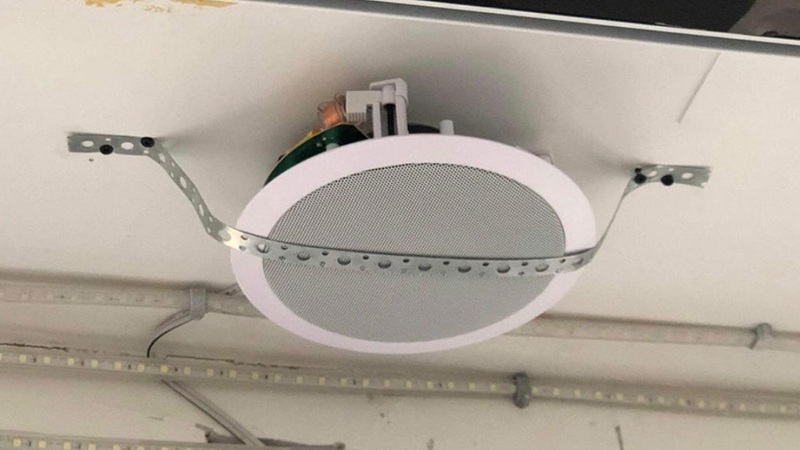
You can start by cutting the drywall behind your target point to connect amplifiers. Then, pull those ceiling speakers from their brackets. As a preparation, you must also locate the color-coded terminals before connecting the red and black wires. Note that you must match the color of the cables with those found on the speaker terminals.
This is vital as it helps establish a secure connection to avoid unnecessary complications while your speaker works. So, when you're done with everything, and you are sure the connection is safe, you can return the speakers and seal the bracelets again. Your cables must remain firmly fixed. As in the last movie, seal your drywall, then fill the place for a successful connection.
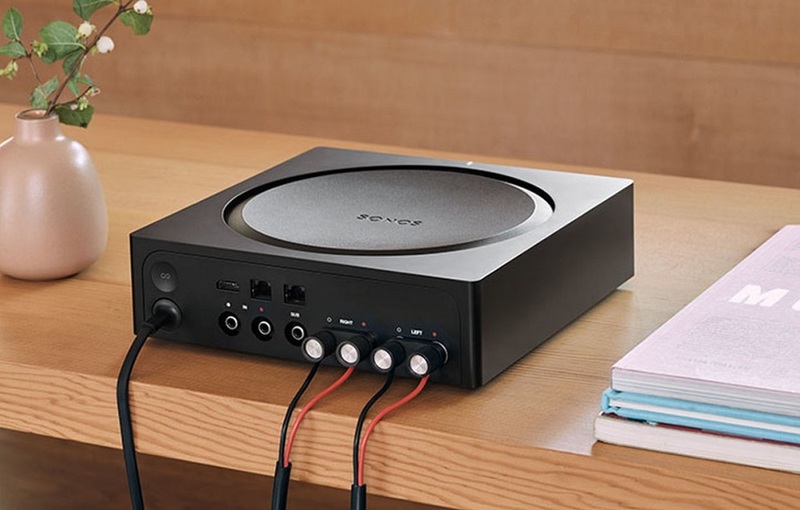
This is the next step; immediately, you connect the red and black cables to the terminals of the ceiling speakers. Then, run these wires on the wall over to the terminals of your amplifier. You can run these wires not only on the wall but also across the floor works well; what determines the move is the distance and length of the wires. When wiring on the floor, kindly pass them under the carpet for these wires to be safe and secure from obstructions. While connecting, ensure you match the colors.
This is after correctly connecting the ceiling speakers to the amp. Play the music on your amp, then use the ceiling speakers as the output devices. When your ceiling speakers fail to produce sound, consider a few hacks to troubleshoot the connection. You must test the connection before you seal the terminals and speakers.
When the connection works, and ceiling speakers are perfectly wired to the target amp, seal the spaces left using tape. You can even continue to paint the area, which gives you extra finishing and refining touches to highlight your unique style. To give it a more appealing appearance and glamor and blend the room decor, paint the ceiling speakers, which integrate the room seamlessly with the ceiling and wall.
That is simple, and you're done. Note that one of the things you must consider here is to locate the proper amp for your ceiling speakers. The ideal amp for these speakers is the same as for passive speakers. The amp must have the same features; thus, you must prioritize impedance compatibility, power rating, power output, and many more factors.
In summary, connecting ceiling speakers to the amp is a seamless process that professionals and typical people with DIY guidelines can do. With an appropriate connection, the above steps give you a high-quality and cinematic sound experience in your room. Following the above steps helps you establish a secure and safe connection of ceiling speakers with relevant amplifiers for distributed audio and in the journey to enhance your sound experience. Always remember to take the necessary precautions when you are interacting with electrical tools. For optimal installation, get a professional or expert.