What to Do with Embroidery When It Finished?
Discover creative ways to showcase and preserve your finished embroidery. From framing and wall hangings to pillows and wearables, explore various options fo...
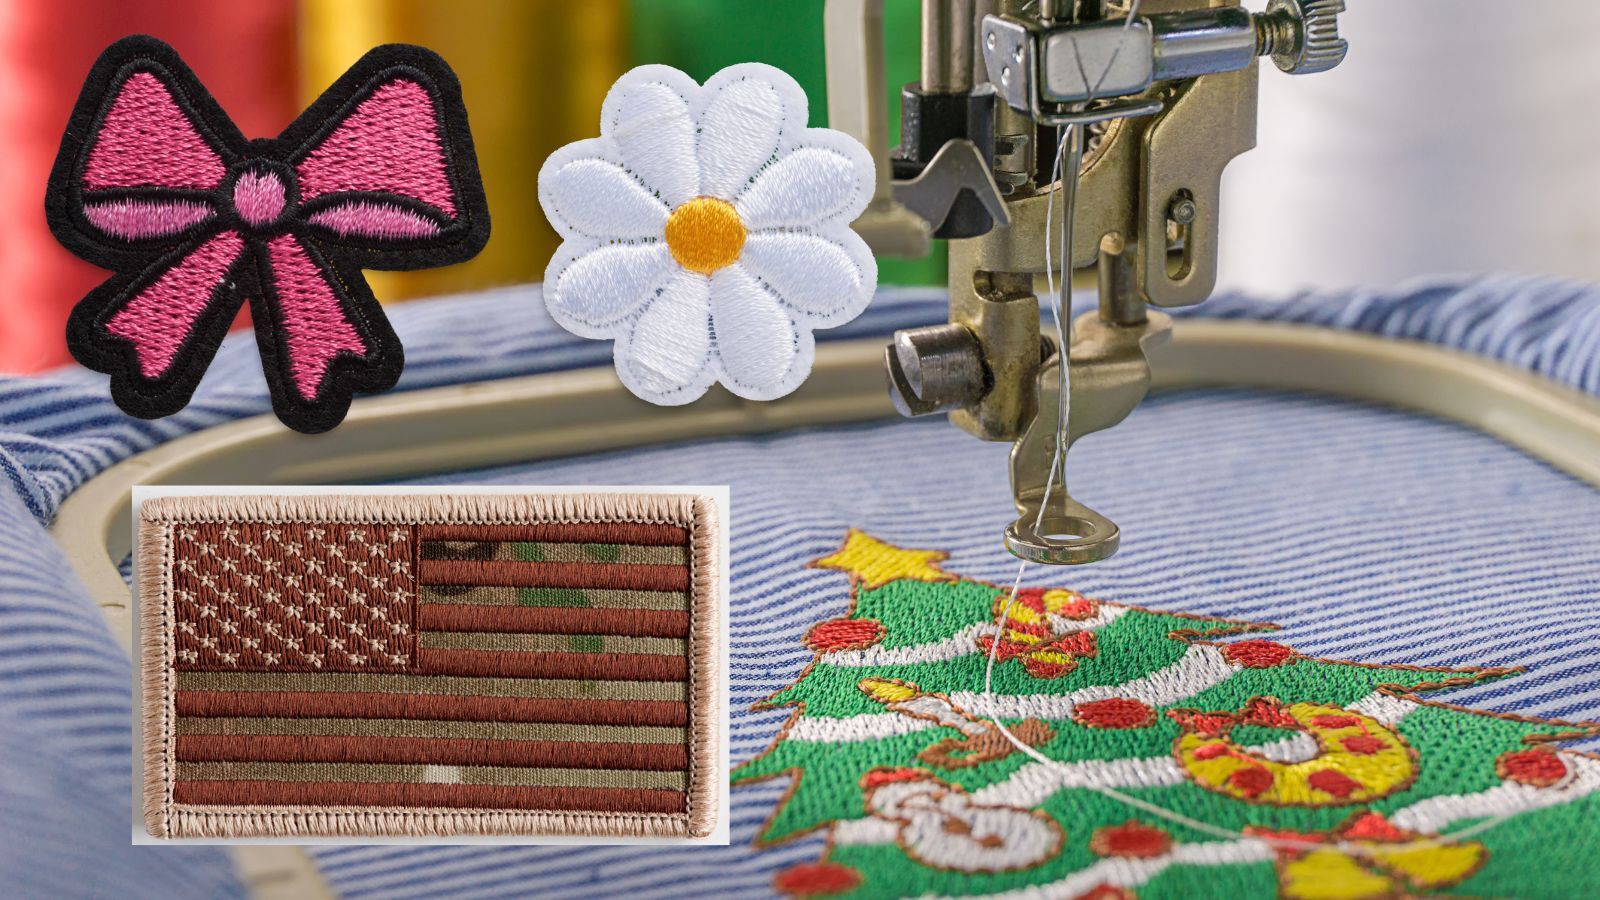
Making patches with an embroidery machine is a fun and rewarding skill to personalize clothing, accessories, or gift items. With the ideal materials and techniques, you can turn any design into a high-quality patch that will stand the test of time. Here is how to make patches with an embroidery machine.
Creating patches with an embroidery machine is a fun and easy way to add a personal touch, like a custom logo to clothing, accessories, gifts, or merchandise items. You can turn any design into a high-quality patch with just a few materials and simple steps.
Whether you're a seasoned embroiderer or just getting started, this guide will show you everything you need to know to create custom patches that are unique and eye-catching. So grab your tools and materials before you embark on the journey to learn how to make patches with an embroidery machine.
Table Of Contents

The first step to making a high-quality patch with an embroidery machine is to choose the design or image you want to embroider onto the patch. Then, gather your materials like stabilizer, fabric, and thread in various colors. Below is a list of the tools and materials to make high-quality patches.
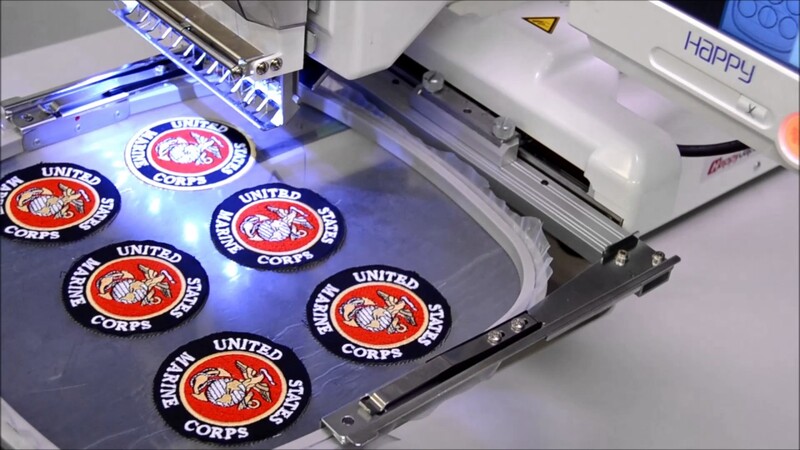
With the advancement of technology, creating custom patches has become easier than ever with computerized embroidery machines.
Step 1: The first step in making patches with a computerized embroidery machine is to create the design using digitizing software. This process involves converting an image or logo into a digital file that the embroidery machine can read and translate into stitches. The digitizer will also determine the stitch type, density, and color sequence.
Step 2: Once the design is complete, it is time to set up the embroidery machine. Set up the embroidery machine by selecting the appropriate hoop size, thread colors, and stabilizer type based on the design specifications. The stabilizer is essential because it supports the fabric during stitching and prevents puckering or distortion.
Step 3: After setting up the machine, the fabric for the patch is placed in the hoop and secured tightly. The next step is loading the design file onto the embroidery machine before the stitching process begins. Depending on the complexity of the design, the embroidery machine may need to stop and reposition the fabric multiple times to complete the entire sewing of the patch design.
Step 4: Once the stitching is complete, remove the patch from the hoop, and trim any excess stabilizer. You can use a satin stitch to refine the edges or leave it raw. The final step is to attach a backing to the patch using adhesive or sewing.
Making patches with a computerized embroidery machine is a straightforward process that requires careful attention to detail and proper equipment setup. With the ability to create intricate designs and customize thread colors, patches made with an embroidery machine can add a personal touch to any garment or accessory.
Creating high-quality patches requires skill and attention to detail. Below are some tips for making top-notch patches that you can practice until you become a pro in embroidery.
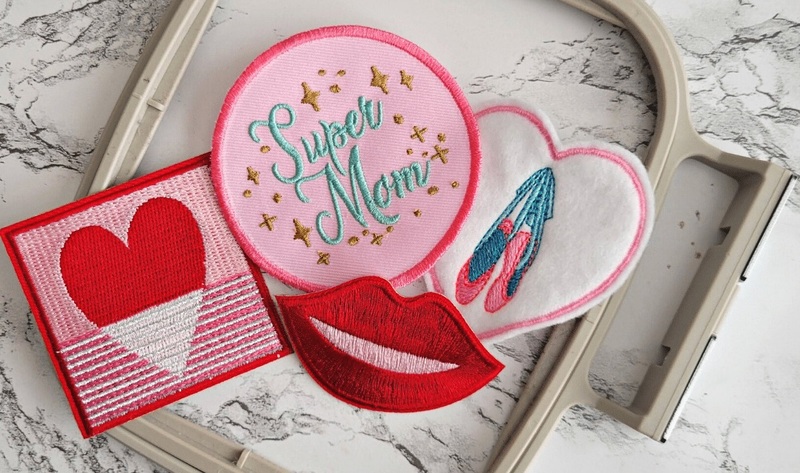
You can create several custom patches using an embroidery machine, and below are the types of custom patches you can make with an embroidery machine.
Creating patches using an embroidery machine is a fun and rewarding activity that allows you to express your creativity and add a personal touch to your clothes and accessories. With the right tools and techniques, such as digitizing your designs, selecting suitable fabrics and stabilizers, and mastering the art of hooping, you can produce high-quality patches that are durable, attractive, and unique. By following these best practices and experimenting with different styles and materials, you can take your patch-making skills to the next level and create stunning designs that stand out.